
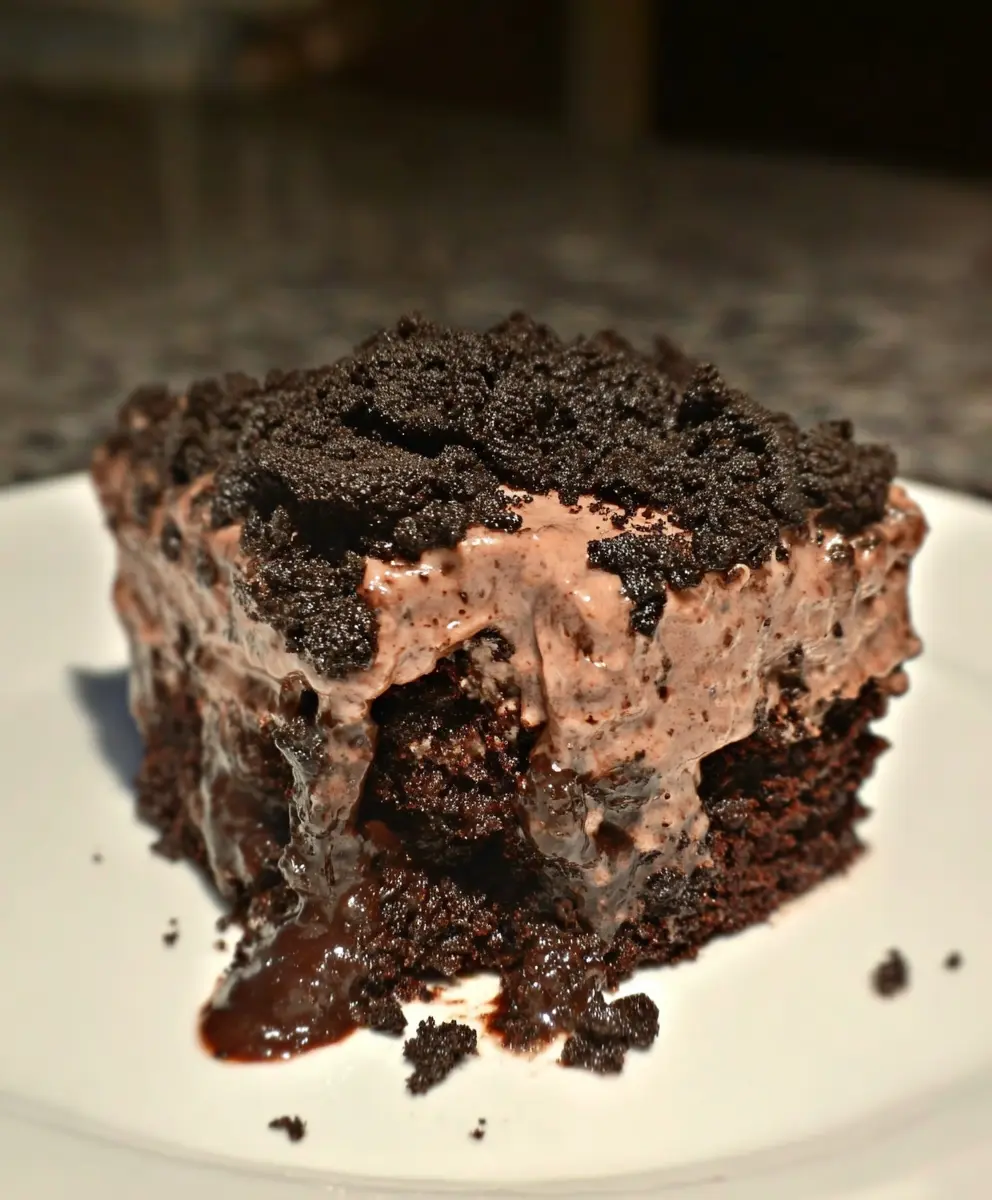
Chocolate Dirt Cake is one of those classic desserts that never goes out of style. With layers of moist chocolate cake, creamy pudding, rich hot fudge, and a fluffy Oreo topping, this dessert delivers maximum indulgence with minimal effort. It is perfect for family gatherings, birthday parties, potlucks, holidays, and casual weeknight treats.
What makes this recipe especially appealing is its simplicity. Using pantry staples and easy-to-find ingredients, you can create a bakery-style dessert that looks impressive and tastes unforgettable. Whether you are an experienced baker or just starting out, this chocolate dirt cake recipe is nearly foolproof and guaranteed to satisfy chocolate lovers of all ages.
This article walks you through every detail, from ingredient breakdowns and expert tips to storage instructions and common questions, ensuring perfect results every time.
Why You'll Love This Recipe
- Uses simple, affordable ingredients that are easy to find.
- Requires minimal baking skills, making it accessible for everyone.
- Features rich chocolate flavor in every layer, satisfying any chocolate craving.
- Perfect make-ahead dessert for events and parties, saving you time.
If you are searching for an easy chocolate dessert that looks impressive and delivers indulgent flavor, this recipe belongs in your collection.
About the Ingredients
Chocolate Cake Mix
A boxed chocolate cake mix forms the sturdy base of this dessert. It saves time while delivering a moist, tender crumb. Choose a high-quality brand for the best flavor.
Hot Fudge Sauce
Hot fudge soaks into the cake, adding richness and moisture. It intensifies the chocolate flavor and creates a gooey texture throughout.
Chocolate Instant Pudding Mix
Adds creaminess and structure to the layers. Instant pudding ensures quick prep and a smooth, lump-free consistency.
Milk
Activates the pudding mix and creates a silky, spoonable texture. Whole milk gives the creamiest result, though lower-fat options work as well.
Oreos
Crushed Oreos create the signature “dirt” look while adding crunch and deep cocoa flavor that pairs perfectly with the chocolate layers.
Cool Whip
Thawed whipped topping lightens the pudding, making the dessert airy and smooth while balancing the richness of the chocolate and fudge.
Tips & Tricks
Allow the cake to cool before adding fudge
This prevents separation and ensures that the fudge seeps into the cake properly.
Poke holes evenly across the cake
This technique allows the hot fudge to distribute evenly throughout the cake, enhancing the flavor in every bite.
Chill each layer briefly
Chilling helps define the layers and makes for cleaner, more appealing slices when serving.
Pro Tips
- Use a high-quality chocolate cake mix for a richer flavor.
- Warm the hot fudge just until pourable, not boiling, to ensure it blends well.
- Gently fold the Cool Whip to keep the topping light and fluffy.
Step-by-Step Instructions
Prepare the Cake
Start by preparing and baking the chocolate cake according to the package directions in a 9x13-inch baking dish. This will set the foundation for your delicious layers.
Cool and Add Fudge
Once the cake is baked, allow it to cool for about 10 minutes. Use the handle of a spoon to poke holes evenly across the cake. This step is crucial as it allows the hot fudge to seep into the cake, creating a moist texture. Microwave the hot fudge until it is pourable, then spread it evenly over the cake, ensuring it seeps into the holes. Let the cake cool completely.
Prepare the Pudding Layer
In a mixing bowl, whisk one box of chocolate pudding mix with 1 3/4 cups of milk. It’s important to spread this layer over the cake before it fully sets, which will help ensure a smooth finish. After spreading, refrigerate the cake for about 20 minutes to allow it to set slightly.
Make the Topping
In another bowl, whisk the remaining pudding mix with the additional 1 3/4 cups of milk and refrigerate for 10 minutes until it thickens. Once it’s ready, gently fold in the Cool Whip to add a lightness to the topping. Finally, mix in three-quarters of the crushed Oreos to give it that signature dirt look and flavor.
Finish and Serve
Spread the Oreo topping evenly over the cake. For the finishing touch, sprinkle the remaining crushed Oreos on top. You can serve immediately, or for the best texture and flavor, refrigerate until ready to serve. Chilling for at least 1 hour will help create cleaner slices and enhance the flavors.
Delicious Variations
Cookies-and-Cream Version
For a fun twist, use vanilla pudding instead of chocolate for a cookies-and-cream variation that’s equally delicious.
Peanut Butter Delight
Add peanut butter chips to the topping for an extra layer of flavor that complements the chocolate beautifully.
Mocha Flavor
Mix in a teaspoon of espresso powder into the cake batter for a delightful mocha flavor that coffee lovers will enjoy.
How to Store Chocolate Dirt Cake
Refrigerator
Store the cake covered in the refrigerator for up to 4 days to maintain its freshness.
Freezer
It is not recommended to freeze this cake, as the pudding and whipped topping may separate upon thawing.
Room Temperature
Keep the cake in a cool place, but it is best served chilled to enhance the flavors and textures.
Reheating
This dessert is best enjoyed chilled and does not require reheating.
Frequently Asked Questions
Can I make Chocolate Dirt Cake ahead of time?
Yes. This dessert tastes even better after chilling overnight, making it perfect for parties and events.
Can I use homemade pudding instead of instant?
Instant pudding works best for structure, but homemade pudding can be used if fully cooled and thickened.
Can I substitute whipped cream for Cool Whip?
Yes, stabilized whipped cream can be used, but it may soften faster than Cool Whip.
How do I keep the layers from mixing?
Allow each layer to set slightly before adding the next, especially the pudding and topping layers.
What can I serve with Chocolate Dirt Cake?
This cake pairs wonderfully with vanilla ice cream, fresh berries, or a cup of hot coffee.