
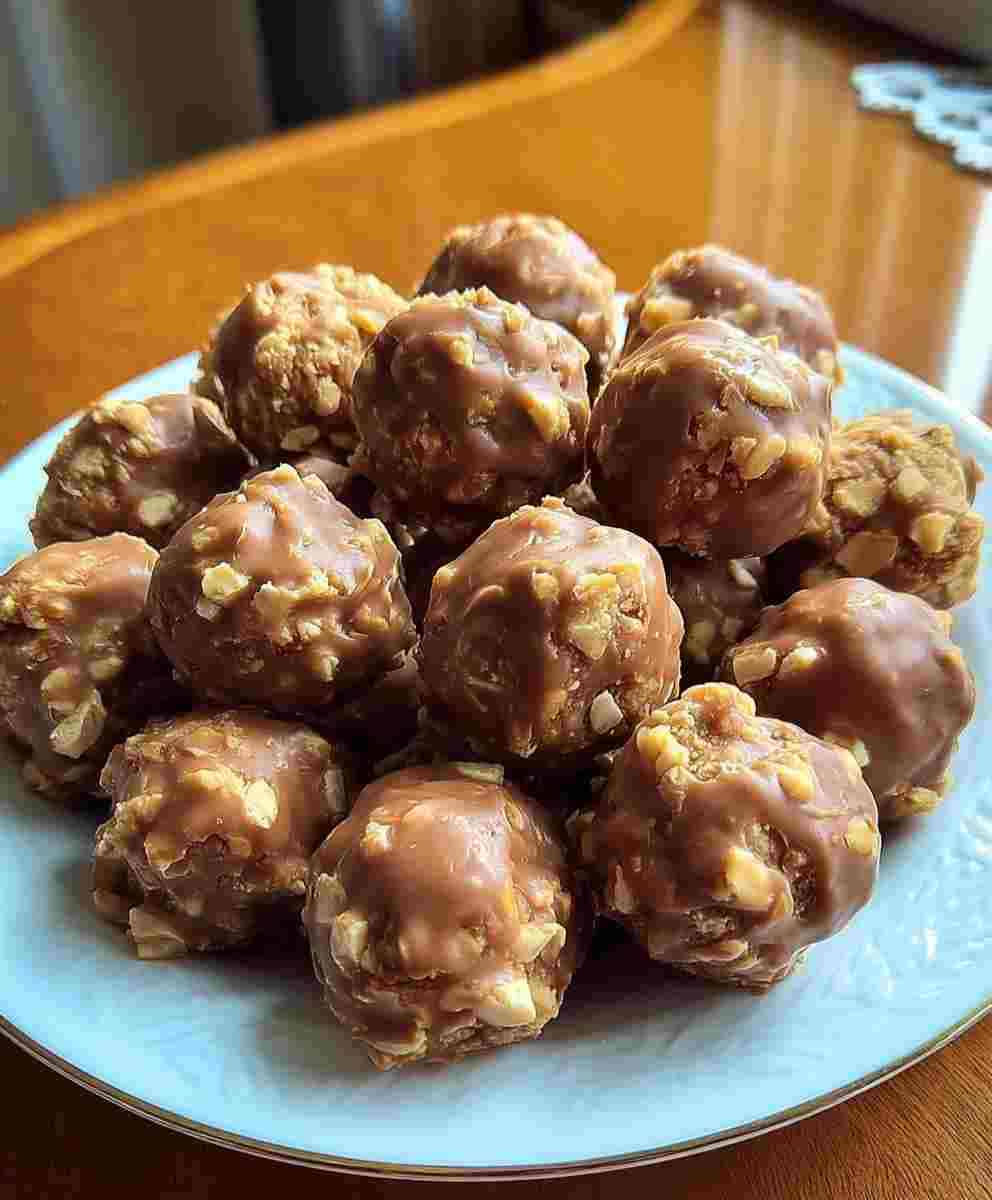
If you’re searching for a show-stopping dessert that combines rich chocolate, creamy peanut butter, and the iconic crunch of Butterfinger bars, look no further. These Butterfinger Balls are easy to make, delightfully indulgent, and perfect for holidays, parties, or just a sweet treat at home. With every bite, you’ll experience a perfect balance of creamy, crunchy, and chocolatey goodness that’s hard to resist.
This recipe is designed for home bakers of all levels, providing step-by-step guidance, tips for perfect results, and variations to make your Butterfinger Balls truly unique. Plus, we’ll cover storage instructions, pairing suggestions, and answers to the most common questions about this treat.
Why You’ll Love This Recipe
- Quick and simple: No baking is required, making it ideal for busy schedules.
- Customizable: Easily swap chocolate types, peanut butter, or toppings to match your taste.
- Perfect for gifting: These treats look impressive in a box or jar for holiday presents.
- Kid-friendly: Fun to make and even more fun to eat!
About the Ingredients
Softened Butter
This provides a rich, creamy base for the mixture, ensuring a smooth texture.
Vanilla Extract
Enhances the overall flavor profile, adding a touch of warmth and depth to the dessert.
Chocolate Bark or Chips
Used for coating, this ingredient gives a smooth, glossy finish and adds a rich chocolate flavor.
Crushed Butterfinger Bars
The star ingredient, providing the iconic crunch and flavor that defines these treats.
Powdered Sugar
Adds sweetness and helps to firm up the dough for rolling.
Peanut Butter
Not only adds flavor but also acts as a binder for the dough. Choose conventional brands for best results.
Graham Cracker Crumbs
Contributes to the structure and adds a subtle crunch to the filling.
Optional Garnishes
Crushed Butterfinger bars, sprinkles, or sea salt can be used to enhance presentation and flavor.
Tips & Tricks
Chill Ingredients
Using chilled butter and peanut butter helps the dough maintain its shape when forming balls.
Mix Evenly
Scrape the sides of the bowl while mixing to ensure a consistent texture throughout the dough.
Freeze Before Dipping
Freezing the balls before dipping in chocolate prevents them from falling apart during coating.
Pro Tips
- Use a cookie scoop for uniform ball sizes, ensuring even chilling and coating.
- Let the chocolate cool slightly before dipping to avoid melting the peanut butter mixture.
- Decorate immediately after dipping while the chocolate is still soft for best adherence.
Step-by-Step Instructions
Mix the Base
Combine peanut butter and softened butter in a mixing bowl and beat until creamy. This step ensures a smooth and homogenous base for your balls.
Add Vanilla
Incorporate the vanilla extract into the mixture, enhancing the flavor profile with its aromatic notes.
Incorporate Sugar
Gradually mix in powdered sugar on low speed to sweeten the mixture evenly and help firm up the dough.
Fold in Crunch
Gently fold in graham cracker crumbs and crushed Butterfinger bars to add texture and that signature crunch.
Form Balls and Freeze
Roll the dough into 1–1½ tablespoon-sized balls and place them on a parchment-lined cookie sheet. Freeze for 30 minutes to firm up the balls for dipping.
Melt Chocolate
Melt the chocolate at 50% power in 30-second intervals, stirring until smooth. This prevents the chocolate from burning and ensures a glossy finish.
Coat with Chocolate
Dip each chilled ball into the melted chocolate, ensuring an even coat. This step seals in the filling and adds a delicious chocolate layer.
Decorate
While the chocolate is still soft, decorate with crushed Butterfinger, sprinkles, or sea salt if desired, to enhance both flavor and visual appeal.
Set the Chocolate
Allow the chocolate to harden completely before serving, ensuring the balls are easy to handle and enjoy.
Delicious Variations
Chocolate Varieties
Experiment with different types of chocolate, such as dark, milk, or white, to customize the flavor to your liking.
Nut Add-Ins
Incorporate chopped peanuts or almonds for additional crunch and a nutty flavor twist.
Flavor Twists
Add a teaspoon of espresso powder or a pinch of sea salt to the chocolate coating for a gourmet touch.
How to Store Butterfinger Balls
Refrigerator
Store in an airtight container in the refrigerator for up to 1 week to maintain freshness.
Freezer
For longer storage, freeze the balls on a parchment-lined tray, then transfer to a freezer-safe container for up to 2 months. Thaw at room temperature before serving.
Room Temperature
Keep at room temperature for up to 2 days in a cool, dry place, but refrigeration is recommended for best texture.
Reheating
No reheating is required. Serve chilled or at room temperature for optimal enjoyment.
Frequently Asked Questions
Can I use natural peanut butter?
Natural peanut butter is too oily and can make the dough runny. Stick to conventional brands like Jif or Skippy.
Can I bake these instead of chilling?
No baking is needed; chilling is essential for the dough to firm up and hold its shape.
What’s the best chocolate for coating?
Chocolate bark provides a smooth, professional finish, but high-quality chocolate chips or tempered chocolate work well too.
How do I prevent chocolate from cracking after coating?
Let the balls chill fully before dipping and allow chocolate to harden at room temperature, not in the fridge, for a glossy finish.
Can I make smaller, bite-sized versions?
Yes, simply roll smaller balls and adjust the chilling time accordingly for perfect mini treats.