
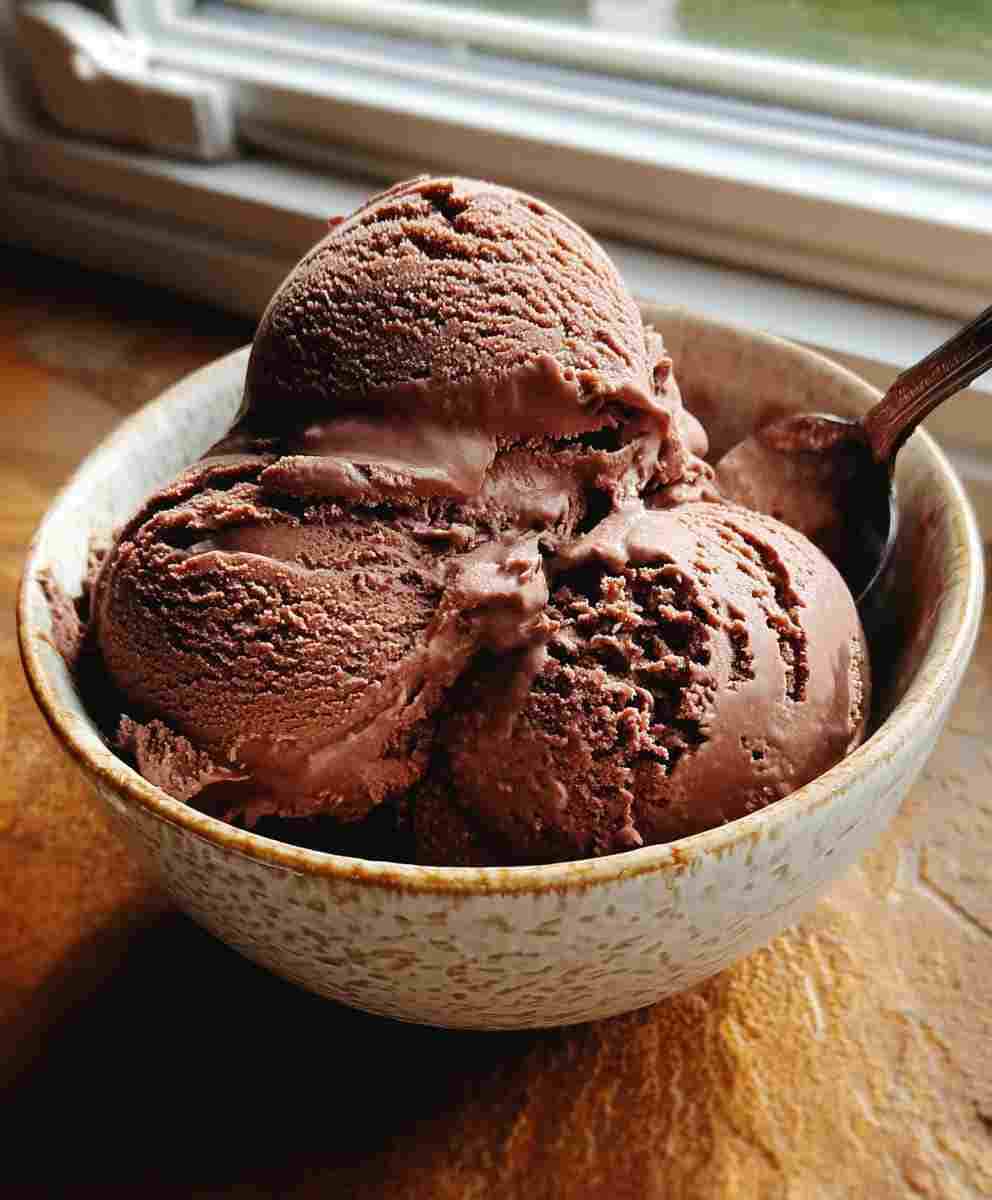
Indulge in rich, creamy, homemade chocolate ice cream—no ice cream maker required! This no-churn recipe delivers a silky-smooth texture, intense chocolate flavor, and the perfect amount of sweetness. With just a handful of ingredients and a few simple steps, you’ll have a freezer-friendly dessert that’s perfect for hot summer days, family gatherings, or satisfying your late-night chocolate cravings.
Why You'll Love This Recipe
- Super easy with no ice cream maker needed.
- Ultra-creamy texture with deep chocolate flavor.
- Only 6 simple ingredients required.
- Customizable with mix-ins like chocolate chips, nuts, or swirls of caramel.
About the Ingredients
Heavy Whipping Cream
This is the base of your ice cream, providing a rich and creamy texture that is essential for a decadent dessert.
Sweetened Condensed Milk
It adds sweetness and ensures your ice cream remains smooth and scoopable straight from the freezer.
Unsweetened Cocoa Powder
This ingredient is key to achieving a bold chocolate flavor that stands out in every bite.
Vanilla Extract
A touch of vanilla enhances the chocolate flavor and adds depth to the overall taste.
Salt
Just a pinch balances the sweetness and intensifies the chocolate taste, making it irresistible.
Mini Chocolate Chips
Optional but delightful, they add texture and a burst of extra chocolate in every scoop.
Tips & Tricks
Chill Your Equipment
Chill your mixing bowl and whisk for faster whipping of the cream, ensuring a light and airy texture.
Sift Cocoa Powder
Sifting the cocoa prevents lumps, ensuring a smooth and even chocolate flavor throughout.
Fold Gently
When combining the whipped cream with the chocolate mixture, fold gently to maintain the airiness for a light texture.
Pro Tips
- Use high-quality cocoa powder for the best chocolate flavor.
- Ensure the cream is very cold before whipping to achieve the best volume.
- Experiment with different mix-ins to create your own unique flavor combinations.
Step-by-Step Instructions
Prepare the Chocolate Base
In a large bowl, sift the cocoa powder to remove any lumps. Add the sweetened condensed milk, vanilla extract, and salt. Whisk the mixture together until smooth and fully combined.
Whip the Cream
In another bowl, beat the chilled heavy cream on high speed using an electric mixer until stiff peaks form. This should take about 3–4 minutes. The cream should be fluffy and hold its shape well.
Combine Mixtures
Gently fold the whipped cream into the chocolate mixture in three separate additions. This method ensures that the mixture remains airy and light. Take care not to deflate the whipped cream.
Add Optional Mix-Ins
If desired, stir in the mini chocolate chips or chunks. This step adds a delightful crunch and extra chocolatey goodness to your ice cream.
Freeze the Ice Cream
Pour the ice cream mixture into a loaf pan or a freezer-safe container. Smooth the top, cover tightly with plastic wrap or a lid, and freeze for at least 6 hours or until firm.
Serve and Enjoy
Before serving, let the ice cream sit at room temperature for about 5 minutes. This makes it easier to scoop and enjoy the creamy texture.
Delicious Variations
Cookies and Cream
Fold in 1/2 cup of crushed cookies for a cookies-and-cream twist that adds a delightful crunch.
Peanut Butter Swirl
Swirl in peanut butter before freezing for a rich, nutty flavor that pairs perfectly with chocolate.
Dark Chocolate Delight
Use dark cocoa powder for an extra rich and intense chocolate flavor that will satisfy deep chocolate cravings.
How to Store No-Churn Chocolate Ice Cream
Refrigerator
Not recommended; always keep in the freezer to maintain texture.
Freezer
Store in a loaf pan or airtight container tightly covered with plastic wrap or a lid for up to 2 weeks.
Room Temperature
Let sit at room temperature for 5 minutes before scooping for the best texture.
Reheating
No reheating needed; simply allow to soften slightly before serving.
Frequently Asked Questions
Can I use regular milk instead of condensed milk?
No, condensed milk is essential for sweetness and creaminess in this no-churn recipe.
Can I make this dairy-free?
Yes! Substitute coconut cream for heavy cream and use dairy-free condensed milk.
Can I reduce the sugar?
You can use unsweetened condensed milk alternatives or reduce cocoa for a less sweet version, but texture may vary.
What if I don't have an electric mixer?
You can whip the cream by hand, but it will take longer and require more effort.
How can I make it more chocolatey?
Use dark cocoa powder or add a handful of chocolate chips for an extra chocolate boost.